

Monday, August 15, 2011
Saturday, August 13, 2011
goodwill: bang for our worthless buck
Well as the title suggests, I've been doing a little shopping at the goodwill these days. I use to frown upon our local goodwill store. On previous trips, it always seemed like I could never find anything. But recently I struck gold at our store the other day while I was looking for some baking equipment. I've been reading a book by Jim Lahey, called "My Bread: The Revolutionary No-Work, No-Knead Method" and fell in love with his method of slow rising dough. In one of his recipes, he calls for a Romertopf clay baker (something I don't have nor want to purchase for $40 dollars). So I set out to goodwill to solve my baking needs, and improvise with something else. And guess what I found?


Oh yes! Clay baker for $5 bucks!

and then guess what I did?

I baked myself some delicious ciabatta bread.

The recipe was a little complex and the dough was hard to work with after an 18 hour rise, but it was well worth the hard work. This bread is great with a balsamic vinegar dip, sandwiches, and bruschetta. Can't wait to have some more tonight with dinner. I also got a mason milk jug for a buck (as pictured above) so I suggest you get to the goodwill, because you'll never know what treasure you'll find there.
Monday, August 8, 2011


Saturday, August 6, 2011
a birthday surprise
Last week my husband and I drove down to Orange County to surprise my dad for his birthday. We had our doubts about doing it but with a final "go for it" from my mom, we hopped in my car and made the 7 hour drive last minute to make it home just before 11 pm to surprise my dad. Seeing his and my moms smiling faces made the long drive worth it.


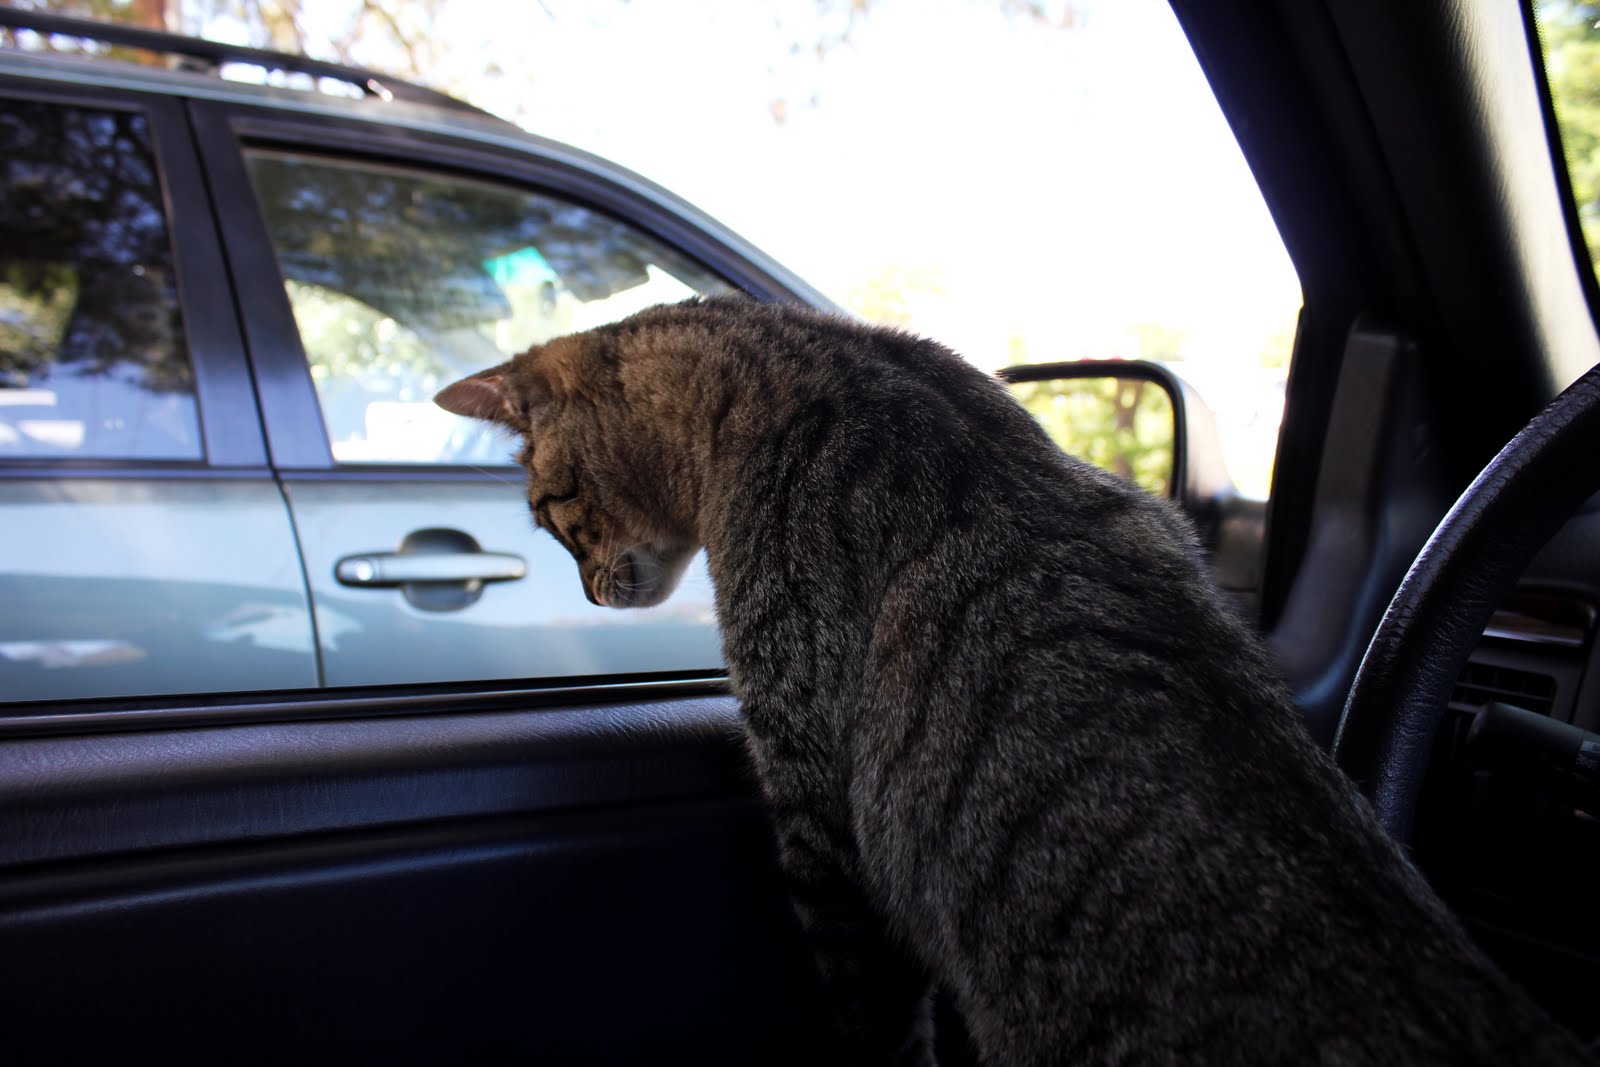
Gus getting ready to do some traveling.. and driving?
Matt and I went out to one of our favorite restaurants for the special Friday night dining and dancing. Something that we always had done before we were married.

At the beach with my sister and her husband.


I'm glad Matt had a guy to throw the football with. I honestly hate throwing footballs.


Pear Salad


At the river with my dad, brother, and husband.


We found a sandbar that was swarming with fish.


My friend and I went to the mall to look at baby clothes. It was hard to find anything that wasn't pink.


Rub that belly!


Gus, making himself at home in my mom's office.

I miss my douggie, Ben. <3

Blackberry turnovers

What you'll need:
- 1 box frozen puff pastry (I use Pepperidge Farms)
- Blackberries or any other type of berry will do
- Flour
- 1 egg, scrambled
- Powdered sugar
Directions:
Preheat the oven to 400 F.
- Defrost the puff pastry overnight. Spread some flour on a cutting board or a marble slab and roll out the dough with a rolling pin till it reaches a rectangular shape. (Note: Puff pastry gets warm and sticky fast so work as quickly with the dough as possible).
- Next, cut the sheet of puff pastry into four squares and then place berries in the center of each piece of pastry.
- Now to seal the pastry closed, spread the egg all along the edges of each pastry and then fold the pastry over to form a triangular shape.
- Bake turnovers for 20 minutes and in the meantime mix some powdered sugar with water to make the frosting and once turnovers are done, drizzle the frosting over the turnovers.
Wednesday, August 3, 2011
DIY: Woodburning
What you'll need:
- Wood burning tools and tips
- Something to burn on. Michaels sells a variety of different shaped wood to burn on. Oak is the best.
- Carbon paper for tracing
- Scotch blue tape (or something that is strong enough to hold your picture in place, but easy enough to remove from your wood piece so as to not leave any tape adhesive behind)
- 1 pencil
- Wood varnish
First pick out a picture and edit it to make it black and white (this will make it easier to trace since the lines are more defined).
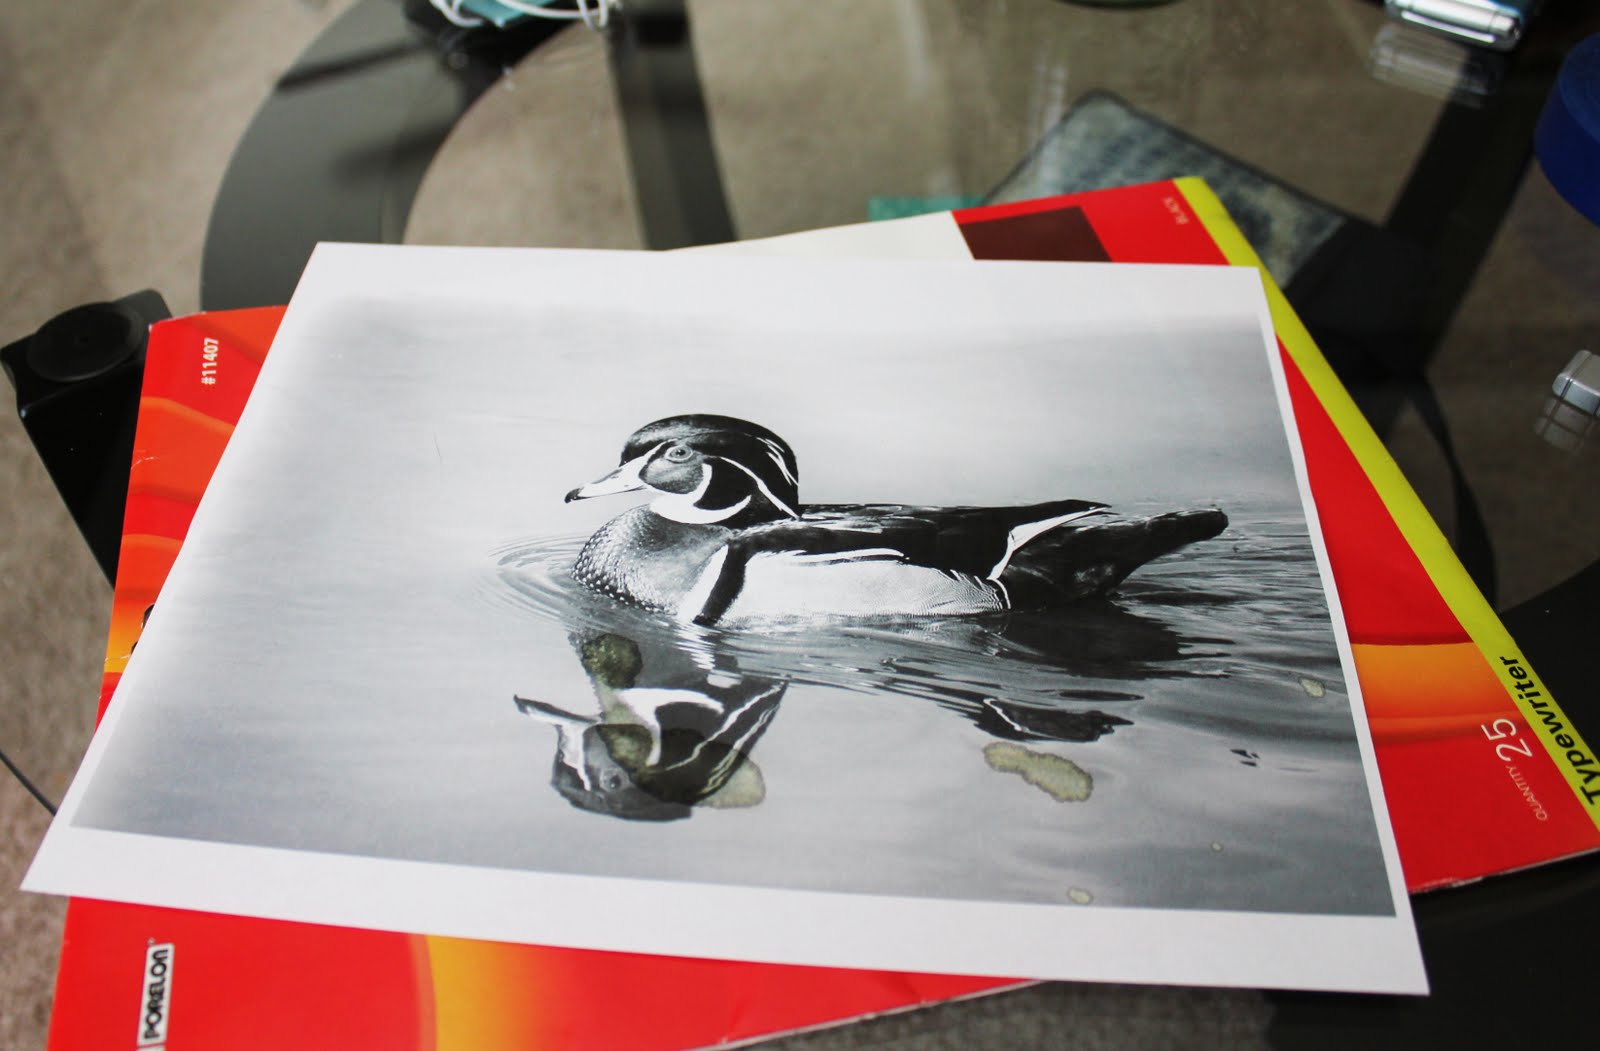
I chose something with bark around it for an old time feeling.

Place your carbon paper where you will be tracing your image.

Next place your image over the carbon paper. Tape and secure and trace.

Make sure you put enough pressure on your pencil so you don't have to go back and trace again.

Then we burn the wood, sand the piece down and put 7 coats of wood varnish on and let dry.

These make great gifts! I made this wood burned duck for my dad for his birthday this year to go along with his Ducks Unlimited themed office.
Subscribe to:
Posts (Atom)